
I have over 300 holds on my home climbing wall – crimpers, slopers, knobs, pinches, and buckets. But only 6 of my holds are commercial; the rest are homemade using wood, stone, or resin-sand mixture. I am by no means the ultimate authority on making holds. But for those considering making their own, I am happy to share what I’ve learned.
Before you dive in, you’ll need time and patience (and a bit of passion) to build these so remember, there are some great cheap holds available on Amazon.com.
You should approach hold making as a bit of an adventure. There is an element of trial and error involved, and simple hand tool skill is required. The processes I’ve used are not for everyone. But for those who like admiring their own handiwork, it provides a novel means of injecting creativity into their home climbing routine.
On the other hand, if you are merely looking for cheap holds, there are better ways to go. While the materials involved are cheap if not free, the labor involved can be considerable. You will not be offering to produce holds by the hundreds for your friends, believe me. In fact, if you’re the sort of person who assigns a dollar value to your “free” time (and you know who you are), you’ll find that it is more cost effective to buy commercial holds in sets.
The goal is to have fun, and make some useful climbing holds along the way.
3 Types of Holds
I have made holds from rock, wood, and polymer resin. There are advantages and disadvantage to each, as discussed below. I have indicated “ugly” or “attractive” as appropriate, but of course these are subjective evaluations. The type of holds you make will depend on the tools and materials available to you, as well as your ambition. You may have a favorite medium, perhaps wood for its unique feel. If you’re after a particular type of hold and can’t get it with one material, try the others. It’s all part of the experimentation.
Rock Holds
The idea is simple: drill a hole in a rock and bolt it to your wall.
Advantages
- Variety
- Unlikely to polish or become slimy
- Generally skin friendly
Disadvantages
- Heavy
- Cold
- Can break, usually without warning
- Ugly
- Limited opportunity for pockets or large cavities
The best rocks to drill have a flat side. Watch out for concave surfaces which put stress on the rock. Stone is strong in compression but usually weak in tension, and even a little bowing can cause the rock to break. The same goes for bolting a flat rock to a concave wall surface.
The trick is to find flat-sided rocks with an interesting shape. Any shale pile can present you with dozens of rectangular slabs, but a wall covered with holds shaped like paperback books isn’t going to be much fun. Many of the best rock holds I have were ones that I came across by chance while hiking or just walking around. Stream beds, eroded mountain trails, and banks of alluvial fill are good places to look. Murphy’s Law says you’ll find the best candidates for holds when you’re not really looking for them. In an urban setting, check construction sites and masonry yards for scraps. Beware of freshly fractured pieces that have sharp edges. These can be rounded off with a coarse file e.g. an old fashioned wood rasp, or simply by banging the rocks together. Resist the temptation to use brick or concrete; these just are not strong enough.
The type of rock can make or break this approach. Our area has an abundance of hard, coarse shale. Or maybe it’s a sandstone, I’m not sure. Whatever it is, it makes delightful holds. Limestone on the other hand (easy to find at local highway projects) is way too hard to drill and rarely cleaves to leave a flat side. Granite can be OK to drill but flat sides are rare (see epoxy putty hint below). Any rock with a lot of quartz is going to stop your drill bit dead.
Check the rock for hidden cracks and faults. In sedimentary rock these will most often be parallel to the flat side. More than once I’ve ended up with two thin holds from what started out as a single, thicker hold. Then there was that one big, SOB rock – it had to weigh 4 pounds – that cleaved in half at the bolt hole just as I was tightening the bolt. As luck would have it, this occurred on the panel that runs across the ceiling of the garage. The van was parked underneath it at the time. The windshield, specifically.
I like to pick up a rock from each climbing area I visit. I may not have climbed The Nose, but that doesn’t mean I can’t have a hold on my wall from the base of the route. Be sure to check the local regulations though; many protected lands prohibit the removal of “geological material”.
Once you have a rock, you will need to drill a hole in it. This is where you will learn if the rock type is acceptable. A carbide-tipped masonry bit is essential. Depending on the size hardware you are using (discussed later) drill a 3/8 or 7/16 inch hole. If all goes well, you will get a hole through. You will probably have to level the area around the hole so the washer – always use a washer on the bolt – sits reasonably flat. A chisel is useful for this. Wear goggles! I know some folks use a really big bit to fully recess the bolt, but I don’t bother.
The drill you use can be as simple as a household 3/8 inch variable speed drill. I drilled my first 150 or so holds with one. Replace the bits when they wear out, as indicated by flattening of the cutting edges. If you have access to one or are just looking for an excuse to buy one (and you know who you are), a hammer drill is better. Get a good one. I bought the cheapest I could find, and it loses speed control as soon as it warms up. Believe me, 3000 RPM in stone is a fast way to ruin a drill bit.
When you have a coffee can full of dull bits, buy a $12 diamond sharpening stone and see if you can restore the tips. Don’t blame me if this doesn’t work.
If a hammer drill isn’t doing the job, you have 2 choices: throw the rock away or percussion drill it by hand. The first option is self explanatory. The second is simply to do what the big wallers do, which is to strike a drill bit with a hammer, turning it slightly between blows. You won’t need any fancy equipment to see if this will work for your stubborn stone; just put the naked bit in the hole and hit it – not too hard – with a hammer. If you’re making dust, you’re drilling. Keep going until you hit your thumb or complete the hole, whichever comes first. The last bit of the hole will blow out if you do this, but that’s OK, it’s on the back of the hold. Very thin rocks will split in half however, so hand drilling is not the way to go for making tiny footholds AKA jibs.
If your hold doesn’t sit flush on the wall, check the back for nubbins that can be chiseled off. A neat trick when this isn’t sufficient is to mix up a little ball of epoxy putty and use it to create a flat surface.

Wood Holds
You’ve probably heard that wood makes the best holds, but it’s not as simple as bolting bits of 2×4 to your wall.
Advantages
- Variety
- Skin friendly
- Attractive
Disadvantages
- Can be hard to make
- Large cavities are generally impossible
Alright, so I lied; you CAN bolt chunks of lumber to your wall. I have two sets of rails on my wall which are nothing more than strips of lumber. But a good wooden hold takes more work than that. If you do go the lumber route, be aware of the grain and potential splitting. Ripping a 45 degree angle along the side of a 2×4 and bolting it on as a jug is just asking for it to split lengthwise and drop you on your butt. Use hardwood wherever possible, or laminated planking of the type used to frame large window and garage door openings. If there’s a house going up in your neighborhood, check the site for scraps. You can build up holds from multiple pieces of lumber if you glue and screw each joint.
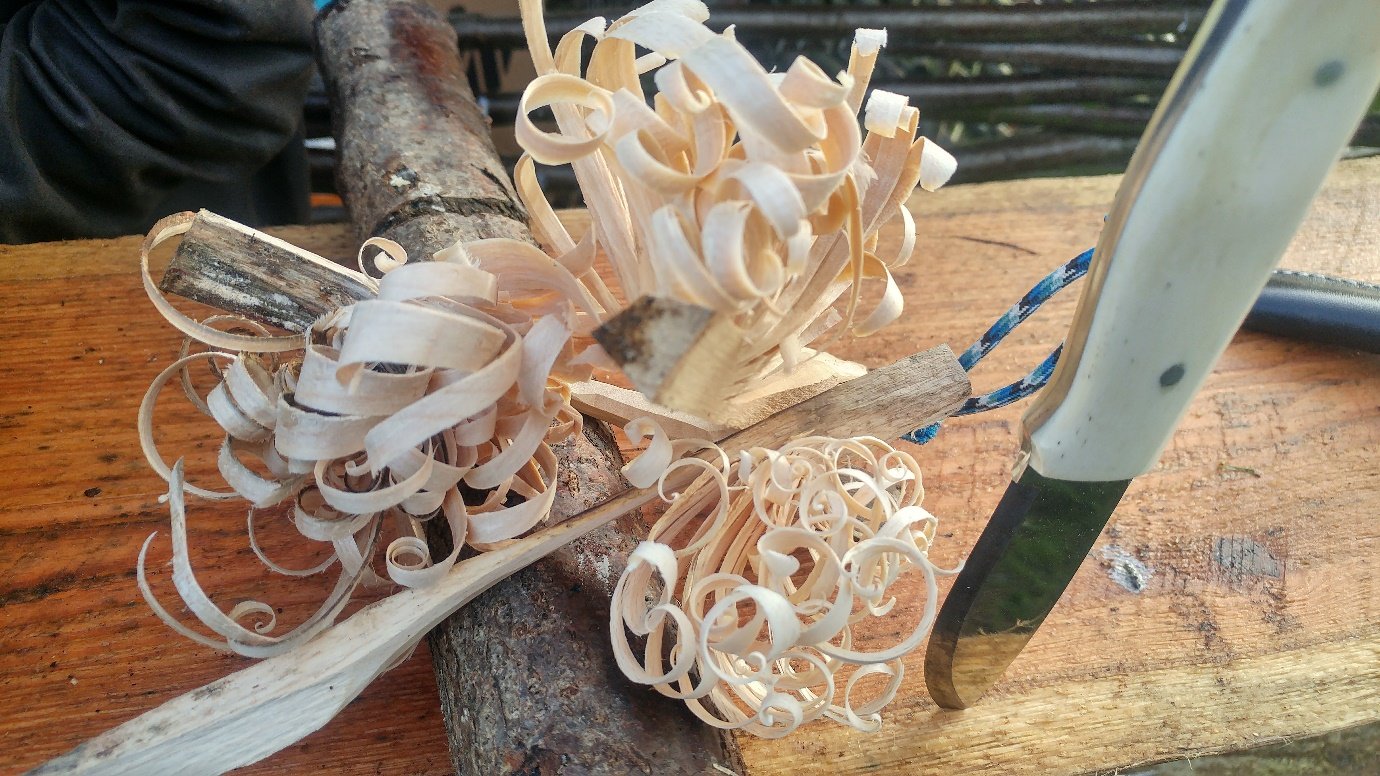
I prefer to start with something more interesting than dimensional lumber. I’m fortunate to have trees around my house, and when one comes down I’m always on the lookout for interesting bends and knobs. I use a chainsaw for the rough shaping and finish with a belt sander. The final surface should be fairly rough, so I use only a coarse belt on the sander. With these tools I can’t carve any pockets, but a Dremel tool should let you do that. Always be aware of the grain, especially if you make a cavity or otherwise create a thin feature.
I find that wood feels best in the summertime. It responds well to ambient humidity and sweaty hands. By contrast, those same holds get slick when it’s cool and my hands are dry. It’s the opposite of commercial holds, which often get slick when it’s humid but feel like Velcro when the temperature drops. Another reason to have a variety of holds on your wall.

Resin Holds
These are the closest to commercial holds. If you get good at these, your friends will be impressed. But you still won’t get famous or rich.
Advantages
- Easy to make (if freeform)
- Can make identical holds (if molded)
- Greatest creativity
Disadvantages
- Can involve toxic materials and fumes
- Lots of work (if molded)
- No large, complex shapes e.g. roof buckets
If you don’t have access to the tools to make rock or wooden holds, this is your quickest way to get some useable holds for your wall. Mix up the components, plop it on a sheet of waxed paper, shape it, and you’ve got yourself a hold. A shapeless, oblique blob but it’s a hold. New walls need lots of holds, including blobs for the feet.
Commercial holds are made from secret formulas, but you have two choices for resin: polyester or epoxy. Polyester is cheaper ($9/quart) and easier to find but contains styrene which is noxious at best and may be a carcinogen. You need to work in an area with LOTS of ventilation if you use polyester resin. Even working outside you may want to wear a respirator with organic vapor absorbing cartridges.
Epoxy resin is about $50 a gallon on Amazon.com or you may have to go to a boating store to find it. Ask for fiberglass repair kits. The advantage of epoxy over polyester is that it doesn’t smell. It cures more slowly, overnight vs a couple of hours. Epoxy is a tough adhesive, so pulling the mold off can be a bit of a chore. I tried a silicone mold release compound without much success.
You also need sand, so buy a bag of general purpose or play sand from Home Depot or raid your kids’ sandbox at night. Watch out for the little pile in the corner where Mittens buried her poop. Whichever you do, make sure the sand is perfectly dry.
Mix the resin in a yogurt cup or waxed paper cup according to the directions. Fill the cup no more than halfway to leave room for the sand. Stir with a Popsicle stick or similar sturdy tool. When the liquid is homogenous, pour in enough sand to just absorb all the free liquid. You want a soft pourable slush if you’re using a mold, and a stiff shapeable dough if you’re working freeform.
Using a mold – There are actually three steps if you want to use a mold: making the model out of foam or clay, building up a rubber mold, and casting the hold.
You start by making or finding something that looks exactly like the finished holds you want. Maybe you have a favorite stone hold you want to clone, or a cherished creation from your pre-school days that you want on your wall. Chances are, if it looks like a hold and will sit still long enough to make a mold out of it, you can make a hold out of it. But more likely, you’ll have to make a model specifically for the purpose. If you have an artistic background, you might want to build your model from clay.
Non-drying, oil-based clays release the latex mold most easily, but unless you want snotty slick-smooth holds, you’ll need to impress some texture into the surface of the clay e.g. with the bristles of a brush. For the rest of us, florists’ foam, the kind used for arranging flowers, may be the best. It cuts easily with a saw or sharp knife, then can be shaped quickly with sandpaper. Blow the dust off and you have a near-perfect texture.
Start out with simple shapes, and save the deep recesses and big bulbous feature for later. It’s a good idea to make the model a little deeper than the final hold will be. If it’s just the right depth, you’ll need to get it absolutely level, and fill it right to the rim. This is especially true if it’s incut. Anything less than a perfect casting and you’ll find that your fingernails dig into the wall behind the hold. So plan on making it a bit deeper than necessary.
Don’t forget to leave a small recess, or at least a flat spot, for the washer and bolt. If you’re making screw-on holds, always use at least two screws to avoid spinning.
The rubber mold can be made with pricey catalyzed silicone or ordinary silicone caulk, though I haven’t tried these. I use tried and true liquid latex, sold by the pint at craft stores. Paint it up layer after layer. More is better and will give a firmer mold, but the minimum is six coats. Allowing it to dry between coats, you’ll be able to apply one thick or two thin coats each day. When you are finished, dust the outside liberally with talc or cornstarch and carefully peel it off the model. If you want to make fancy “dual texture” holds, paint a layer of latex inside the mold where you want the smooth parts.
The resin-sand mixture is dense and will distort all but the smallest molds when you fill them. To prevent this, settle the mold into a box of dry sand, being careful not to collapse the mold while doing so. If you plan on making a lot of holds, it may be worth making a plaster support for the mold. This is best done while the model is still in the mold. Of course, you can put it back in if you’ve already taken it out. Loosely fix the inverted mold in a shallow pan and pour the thin plaster around it. The mold is light and will try to float out of the plaster, so find some way to fix it in place.
The tricky part is removing the mold from the hardened plaster. Any positive features will be locked into the plaster, and you will need to cut open the plaster to remove the mold. Think about this ahead of time – not all shapes are suitable for rigid plaster support. Look for one or two planes through the plaster that will open it up totally. Once filled with resin-sand, the mold will be rigid, and you can not bend it around even the slightest.
Level the mold in the sand or plaster support and fill it with the resin-sand mixture. Some resins release air bubbles as they set, giving the top of the resin a foamy appearance. This is harmless. Tap the surface lightly after an hour or so (longer for epoxy resin). Once it’s really hard you can peel off the rubber mold. If there’s a lip around the edge where the resin crept up the side of the mold, cut it off carefully with a sharp knife. Use a masonry bit to drill the bolt hole. This is easy, so an old dull bit and a rotary drill will work OK.
For a novel type of hold that combines the above media, consider making “toadstool” holds. These are smooth, rounded rocks that sit off the wall on a base of resin-sand. They are positive and fun and have all the advantages of stone holds. They make great starting holds to match on and are forgiving targets for dyno moves. Cut a 2×10 inch strip of thin rubber sheeting (old inner tube) or heavy polyethylene sheeting. If you have neither, try duct tape folded glue-to-glue.
Tape it into a hoop a little smaller than the rock. Stand it on edge on the rock, contouring the edge as needed so it sits nearly flush. Use rubber cement or latex to build a bead all around the bottom, sealing the collar to the rock. Repeat if necessary so there are no gaps. Set the rock level and pour in about a half-inch of resin-sand mixture. When it has set, peel off the collar. Drill the hole as usual starting on the rock side and exiting through the resin. Be careful not to use too much pressure as you near the rock-resin interface or you may break the resin off. If this happens glue it back in place with a little epoxy.

Miscellaneous Tips
Use your imagination. Look for potential holds and molds everywhere. I made some glass-smooth round holds by pouring resin into PETE soda bottles. The plastic was hard to peel off, so using the base of the bottle didn’t turn out so well, but the gradual curve of the shoulder of the bottle gave good results. I put a couple of these on a slab route at the local gym. Even sandblasted on top (below) they are a real test to stand on. “Old school 5.10” I call it.
Pour resin-sand into the plastic of “blister pack” packaging. Interesting objects like fishing lures, pet toys, and decorative light bulbs are sometimes packaged this way. Drill the holds for screws.
If you have access to a sandblasting machine – and who doesn’t these days? – use it to alter the surface texture. A couple of layers of masking tape will protect areas you don’t want to etch and allow you to create some interesting effects.
If you’re having fun with freeform resin holds, you may be tempted to make some features directly on the wall. Don’t! The material is strong enough, but the surface of the wood is not. Eventually, you’ll be picking yourself up off the concrete, looking at a blob with a layer of wood fibers firmly adhered to it, and a rough patch on the plywood where the hold used to be.
My preference for training routes is to make the handholds big and positive and the footholds small. Mounted on an overhanging panel, this combination will develop upper body stamina and body tension without tweaking your finger tendons. If the problem is too easy, make the feet more devious – don’t make the handholds crimpy.
As far as hardware goes, if your wall contains a good mix of commercial and homemade holds, you’re stuck with 3/8 inch bolts and T-nuts. If it’s mostly homemade, however, you can save some coin by using 5/16 inch hardware. It’s plenty strong enough. In fact, most of my wall is 1/4 inch hardware. It’s adequate for what I do, but then I don’t have 200 pounders hucking huge dynos. And I am using Grade 5 bolts, which are significantly stronger, for peace of mind. Regardless of size, use common hex head bolts rather than trying to find allen head or tapered seat bolts supplied with some commercial holds.
Too Much Hassle?
Yes, you’ll need time and patience (and a bit of passion) to build these so if it sounds like too much hassle, remember, there are some great cheap holds available on Amazon.com.
Photographs by Clif Skaylor
Professional rock climber with more than 20 years of rock climbing and training experience.


Rad advice on this page mate. I feel really confident make some holds now having read your advice. I really appreciate the detail that you’ve gone into. Cheers mate, Andrew.
Thanks for posting! Lots of great guidance 🙂